Meet Terabot

Since the release of Gigabot in 2013, we’ve continued to push the build envelope: first Gigabot XL, then the XLT. Now there’s a new machine to add to the portfolio, one that dwarfs its predecessors: Terabot.

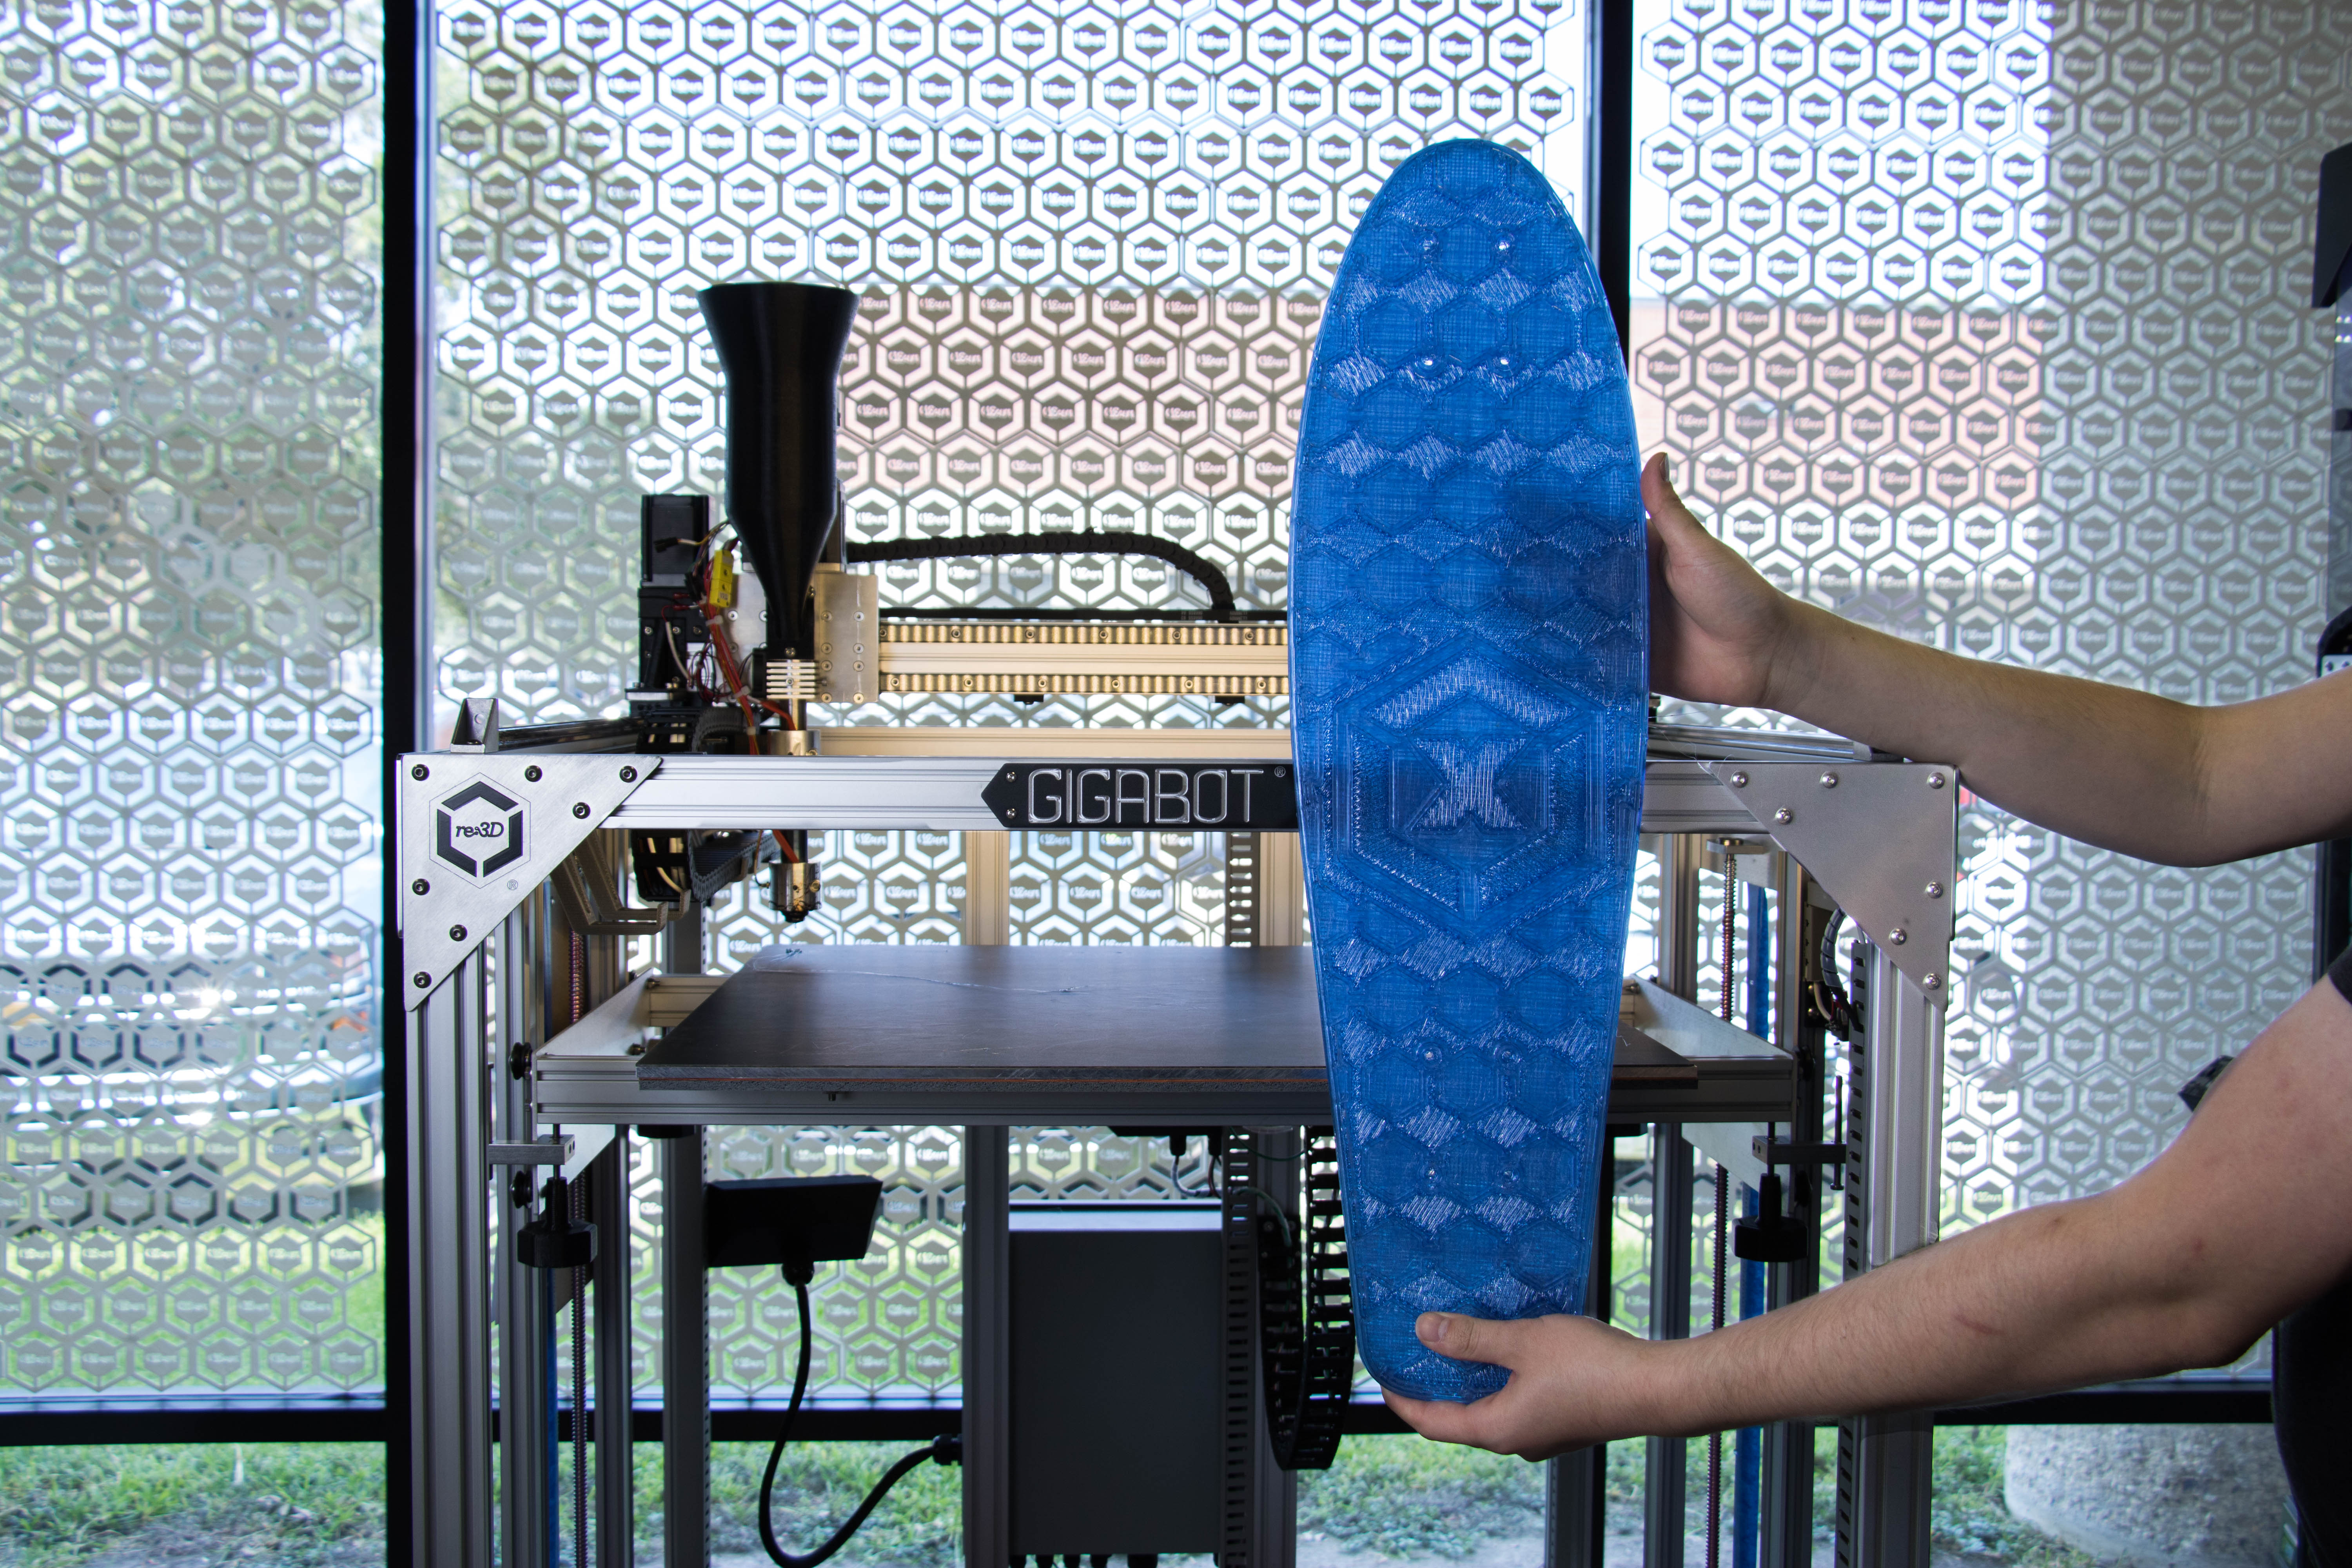
Terabot is the latest addition to our fleet of large-format, industrial, fused filament fabrication printers.

Terabot was conceived out of a customer’s desire to go bigger than what we offered at the time – much bigger. As more and more customers asked about build volumes up to 1m cubed, we decided it might be time to make this solution a regular offering in the re:3D lineup.

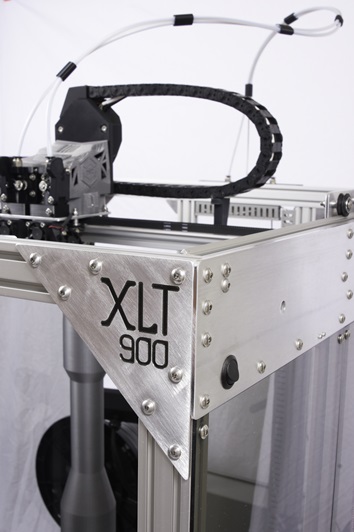
With a build platform of 915x915x1000mm, Terabot boasts 8,372,250 cubic centimeters of volume – over 20 times more than its closest relative (the Gigabot XLT, which stands at 590x760x900mm).

The size jump was done with those customers who had outgrown Gigabot’s build volume in mind: the people who found themselves needing to break extra large prints into multiple sections and attach them post-printing. As Head of Engineering Matthew Fiedler puts it, “Face it, we don’t want to gluing or bonding together all of our small 3D prints. We really need a machine that can print the full piece at one time.” Terabot allows for the printing of massive parts without the need for any messy post-processing with glue or bondo.

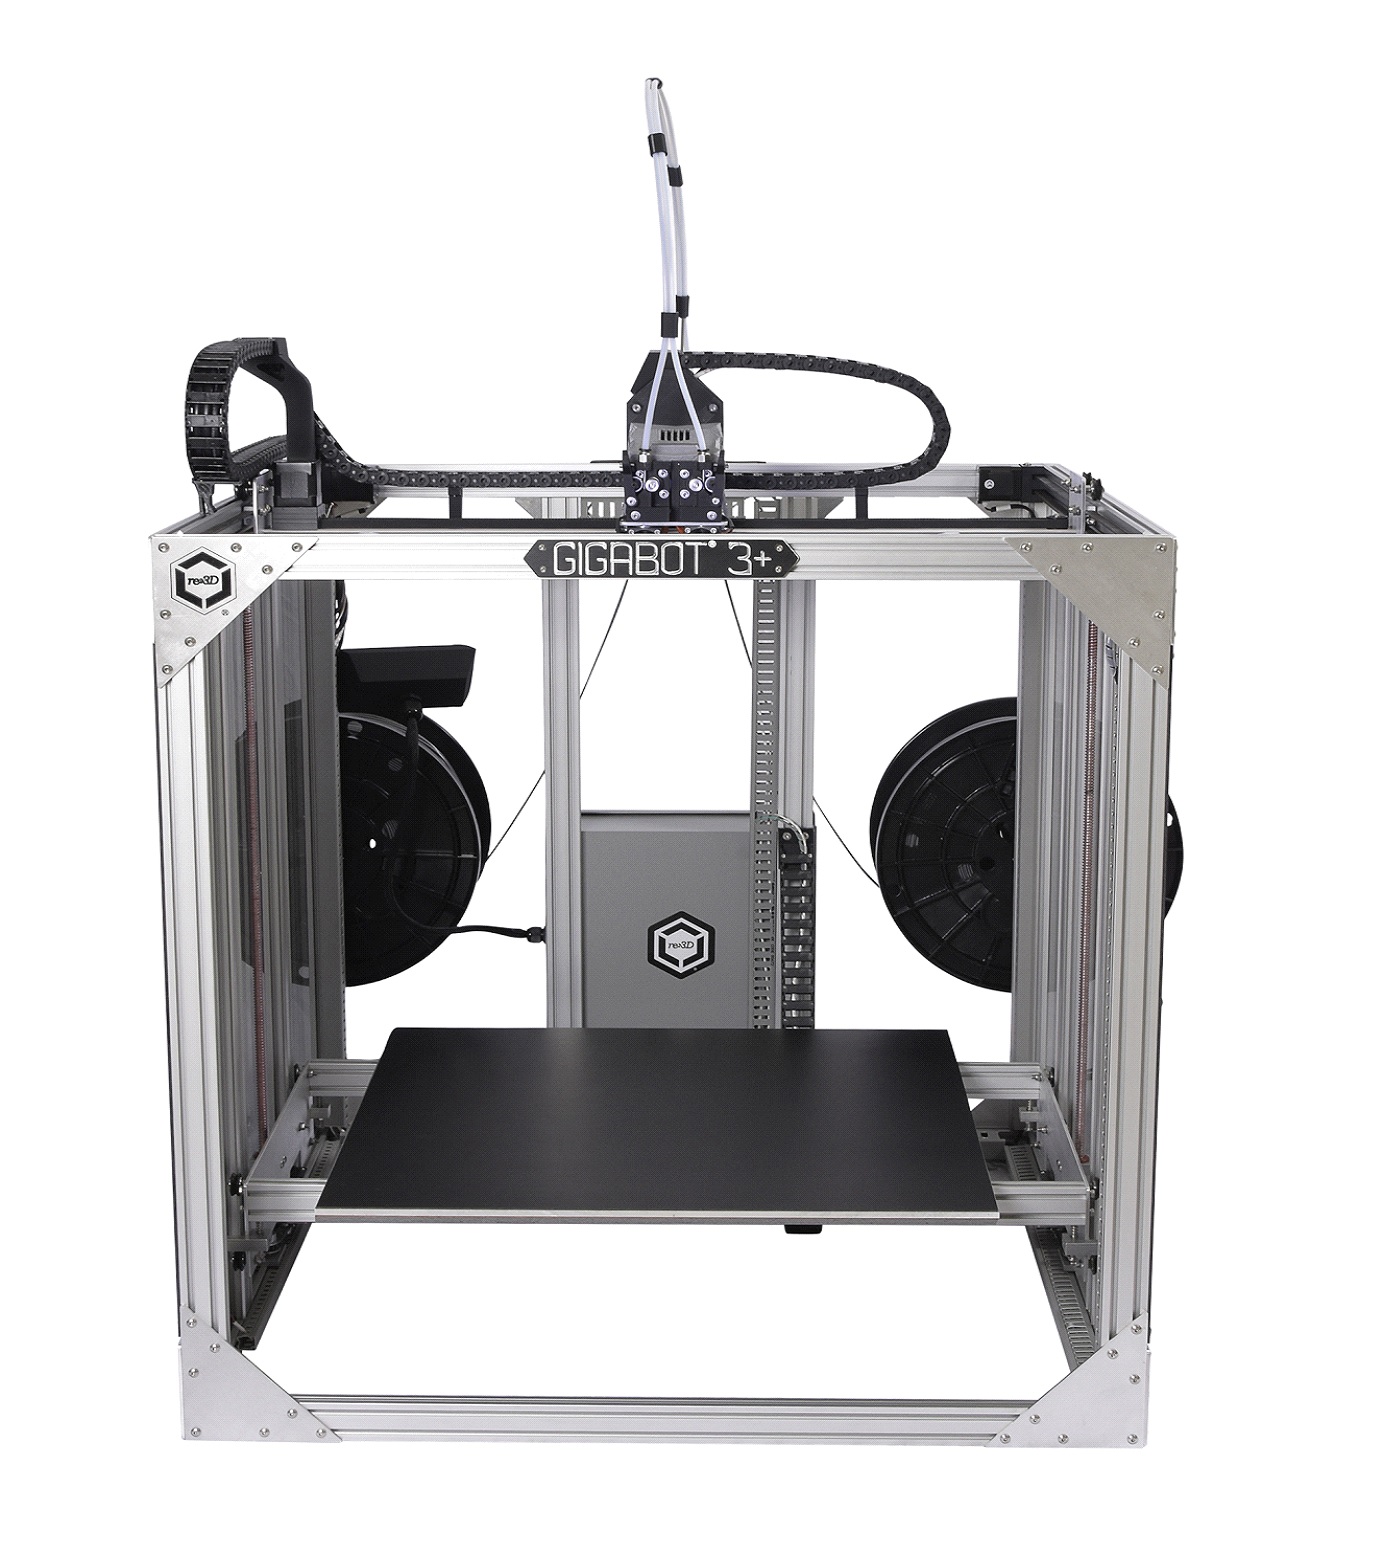
As Terabot was modeled off the existing Gigabot platform, all the functionality our current customers already enjoy is built into this machine. With such a jump in size, however, our engineers made some critical design changes to allow it to run smoothly and reliably on massive prints.

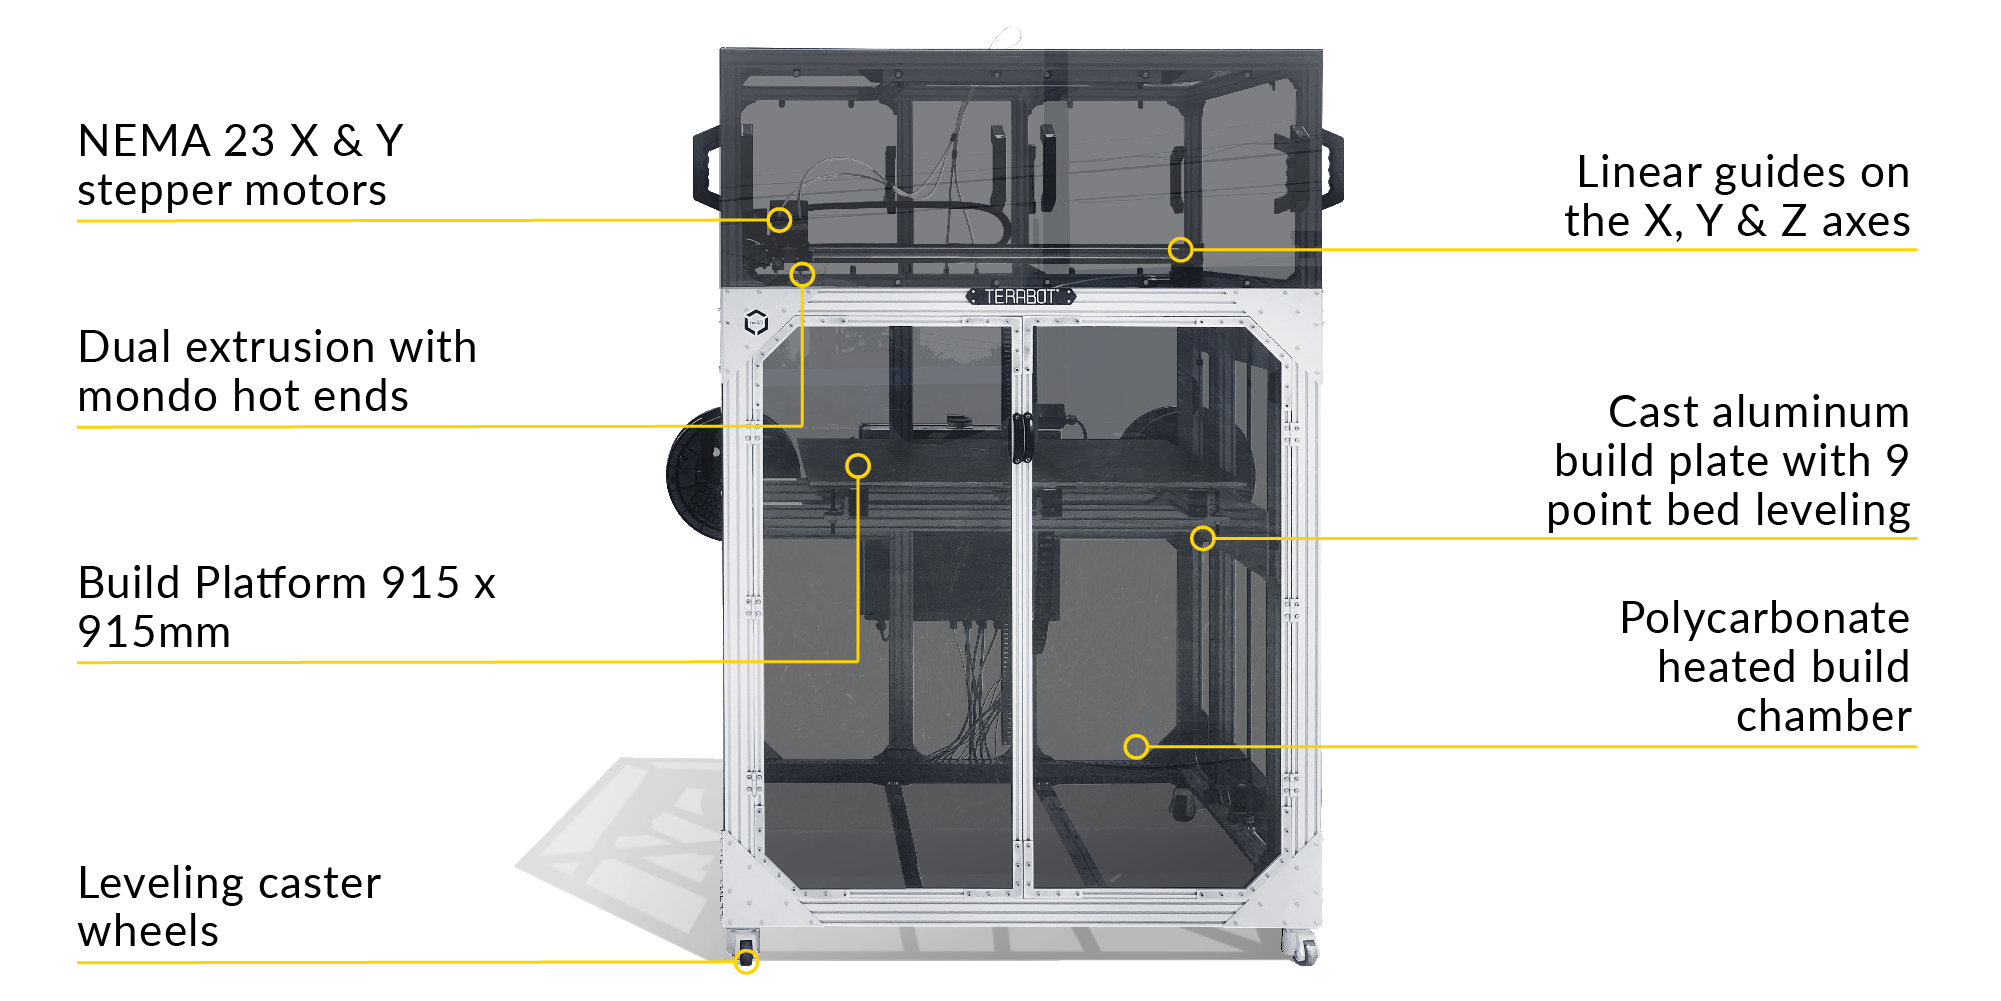
The main new features on Terabot are as follows:

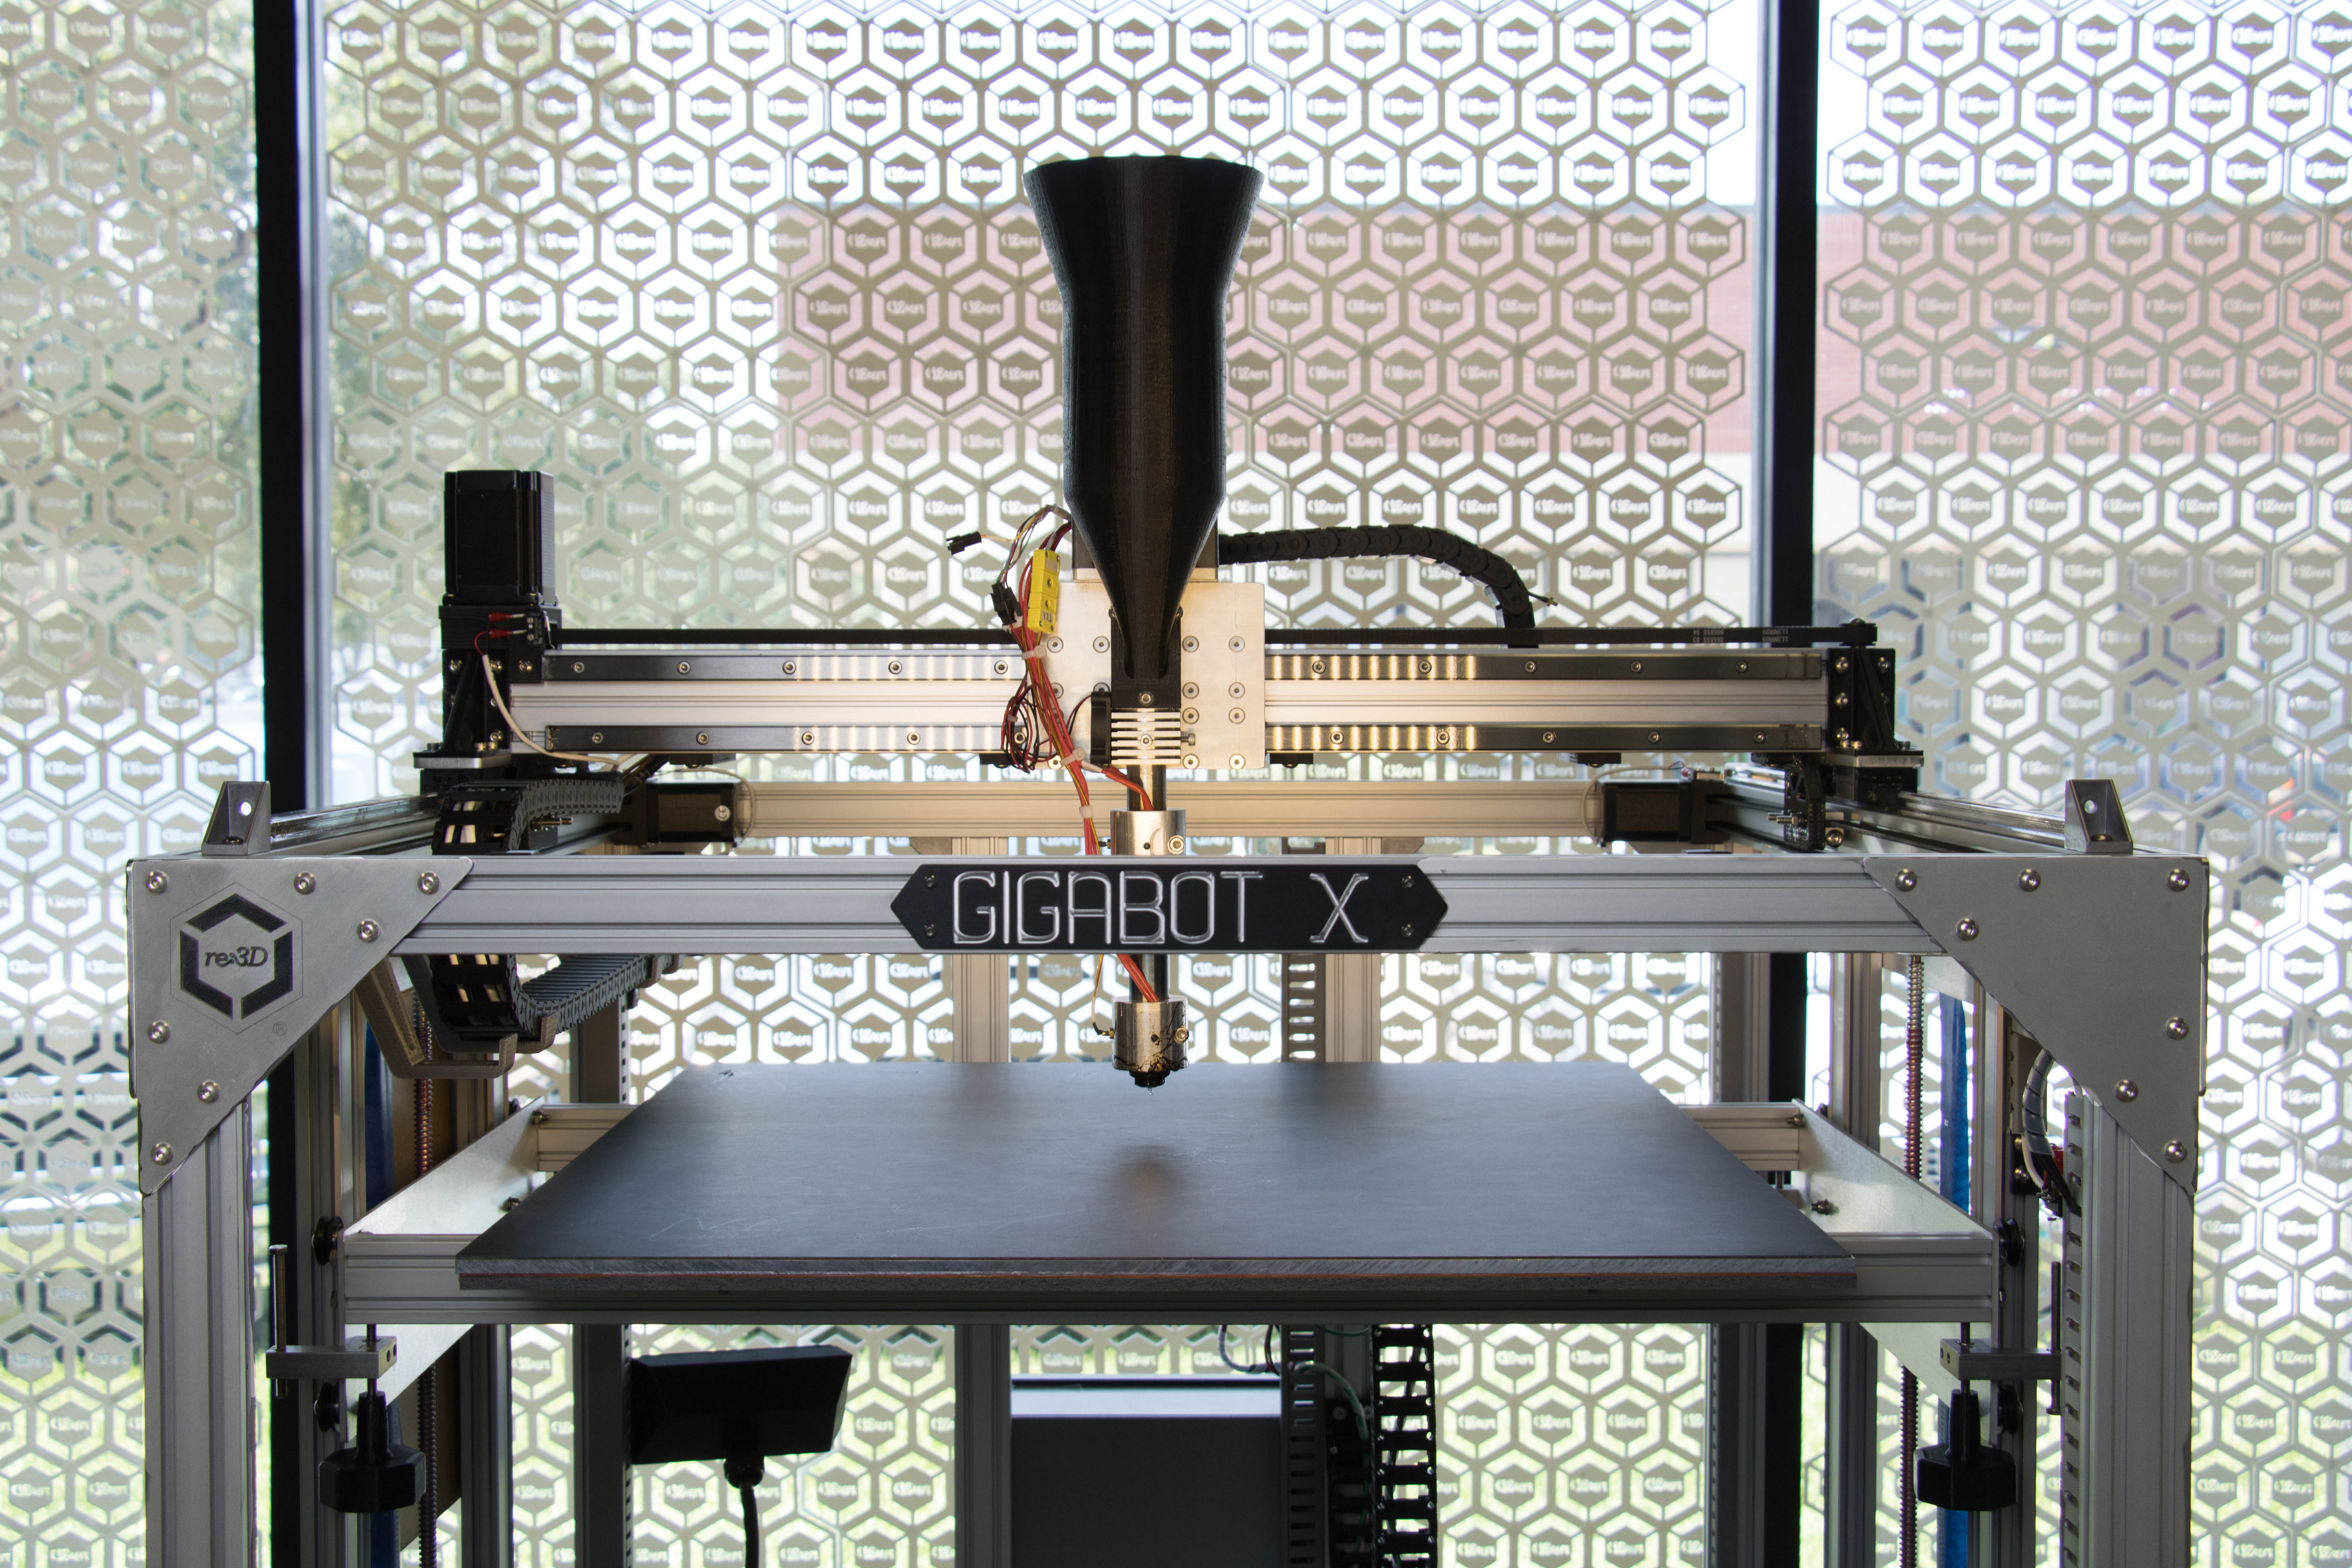
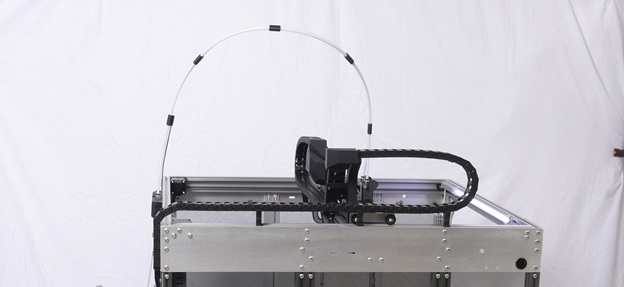
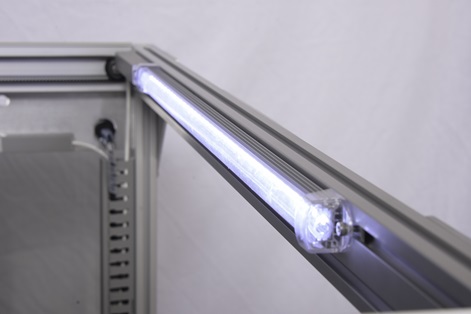
  • Linear guides on the X, Y, and Z axes
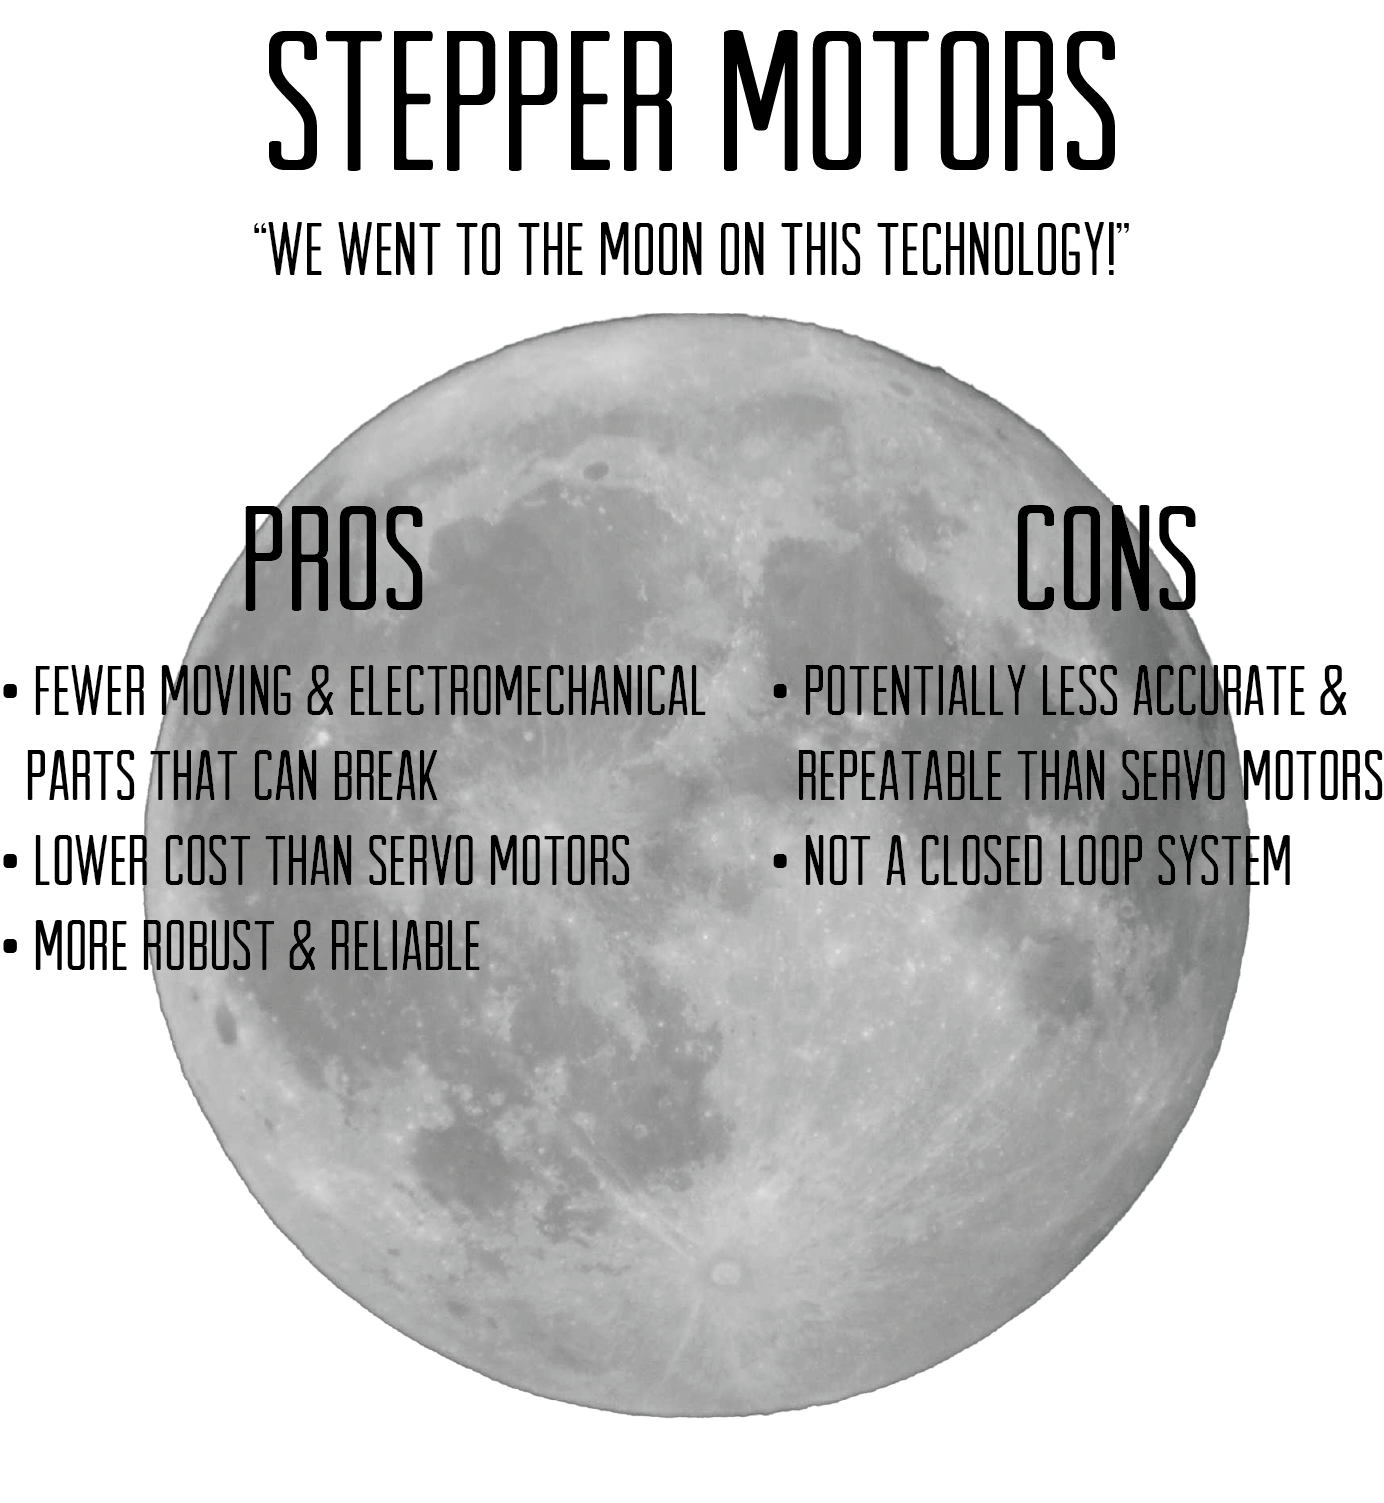
  • NEMA 23 X and Y stepper motors with closed loop control
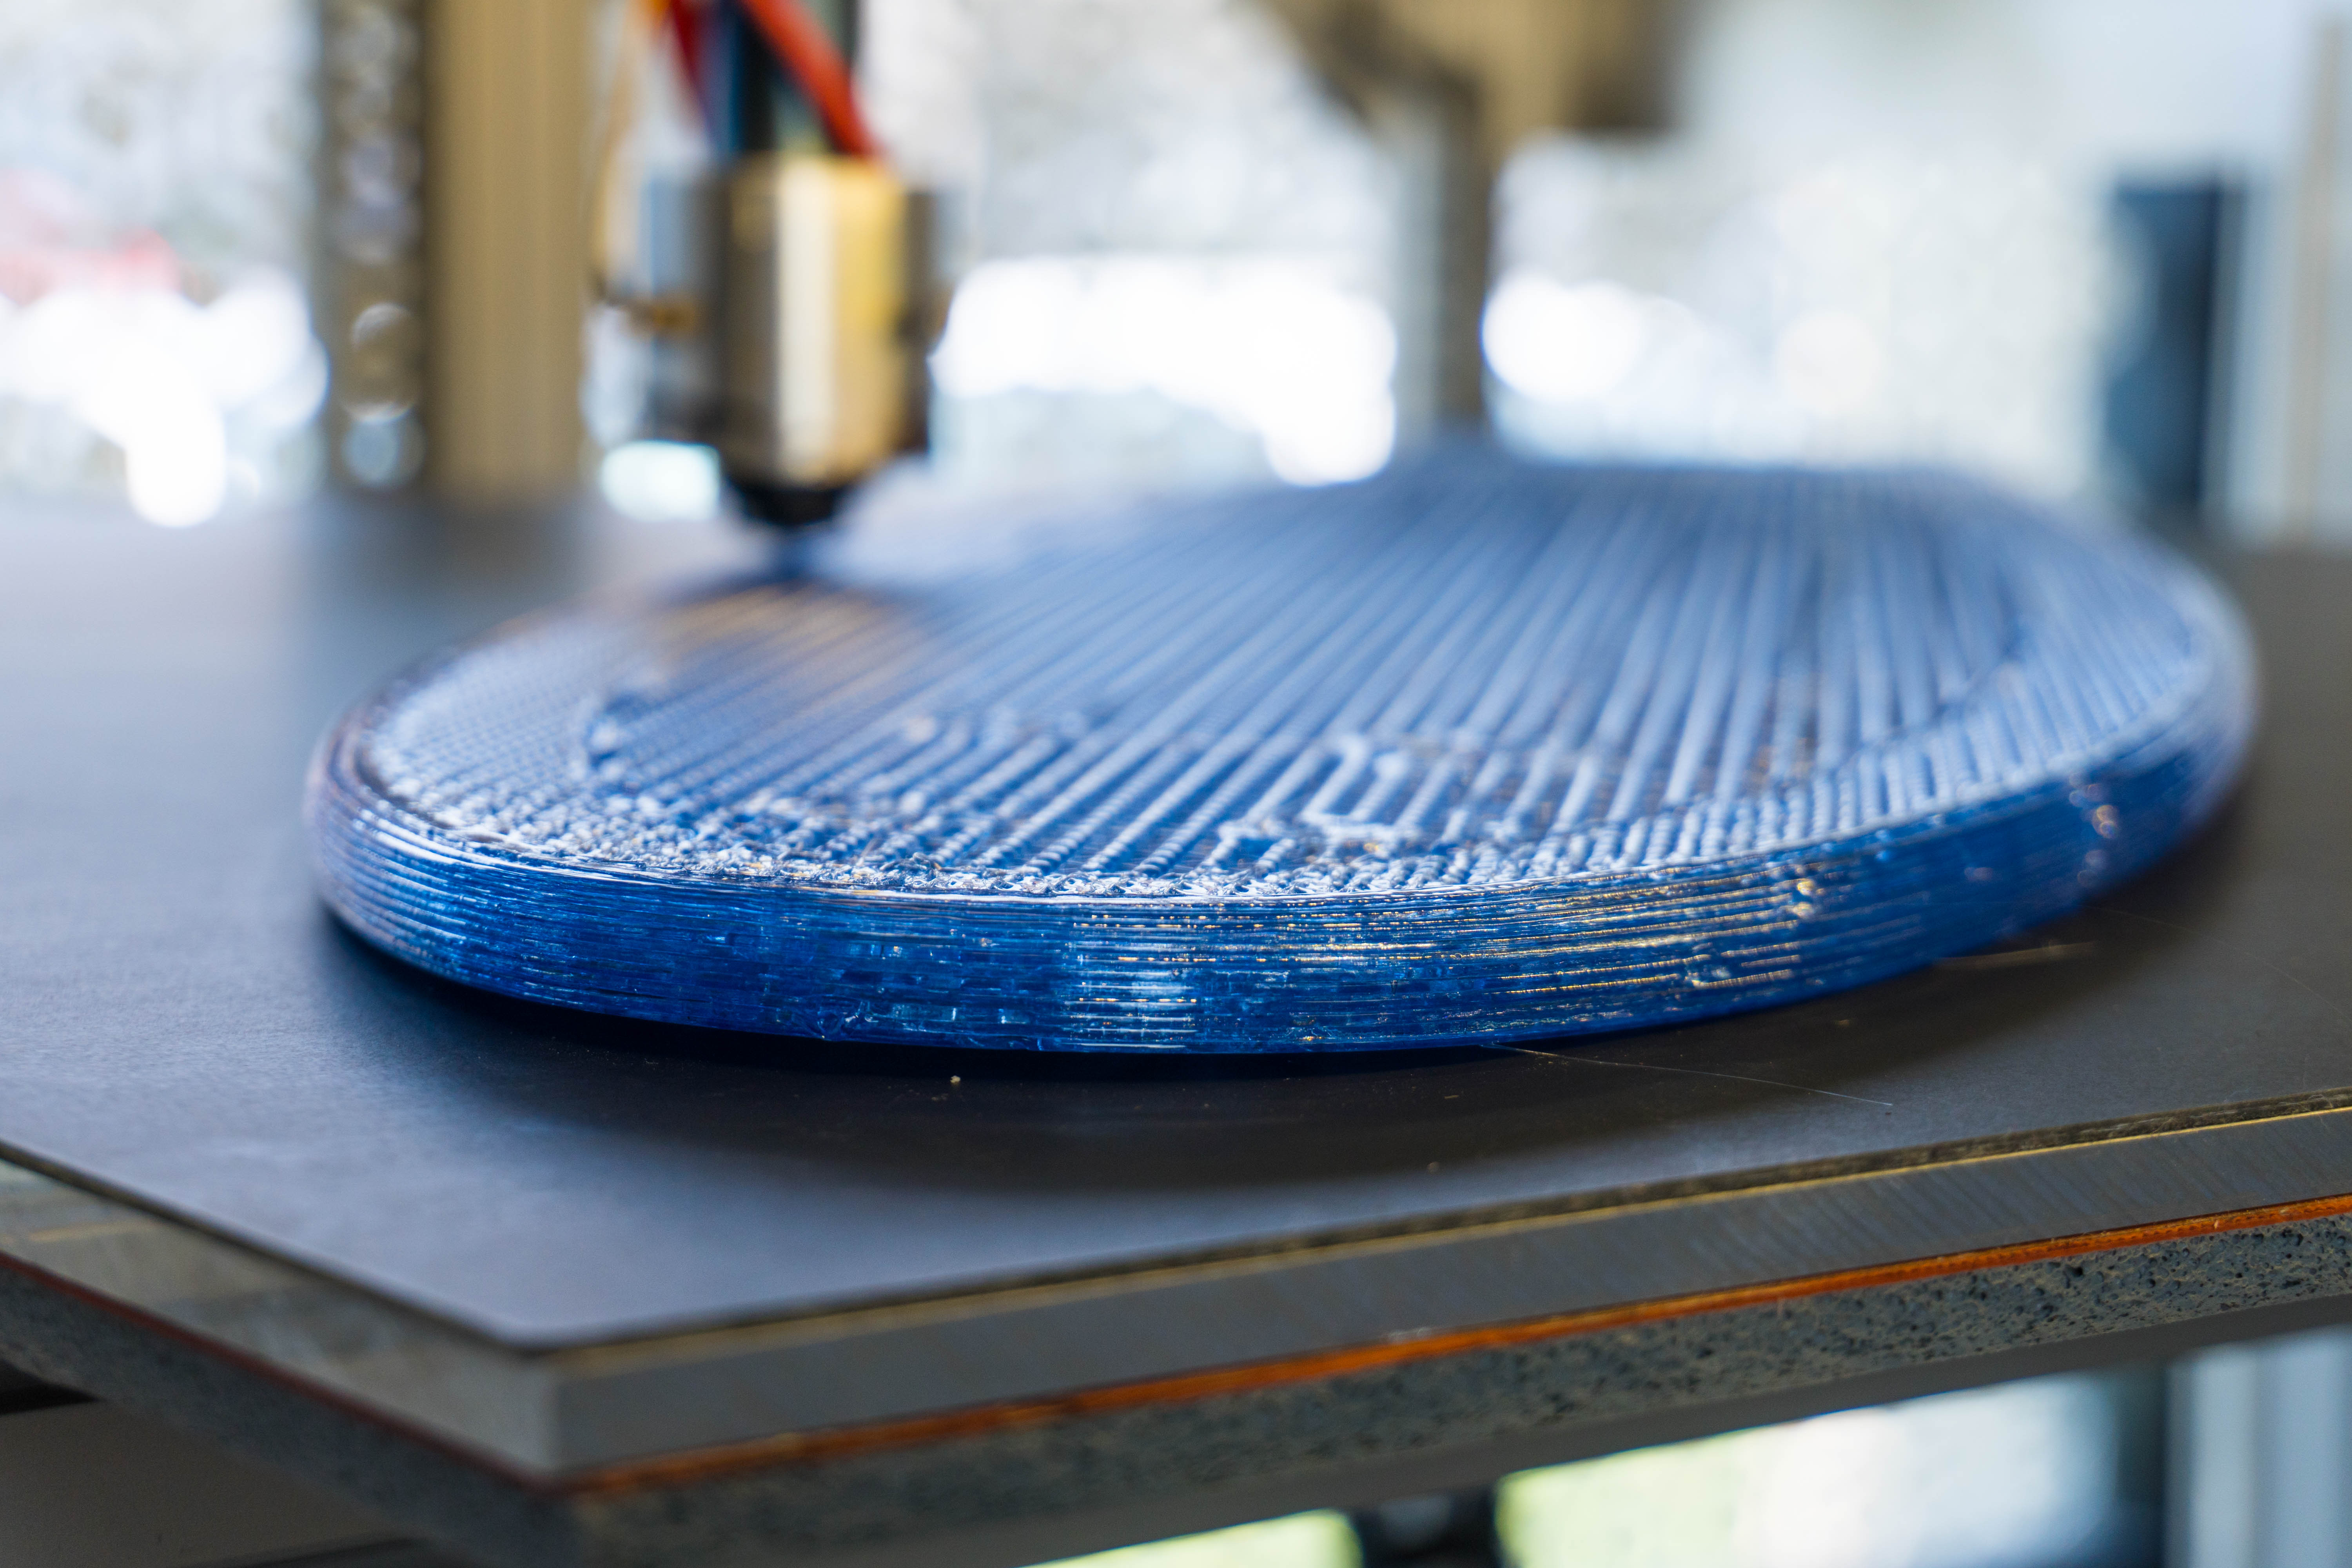
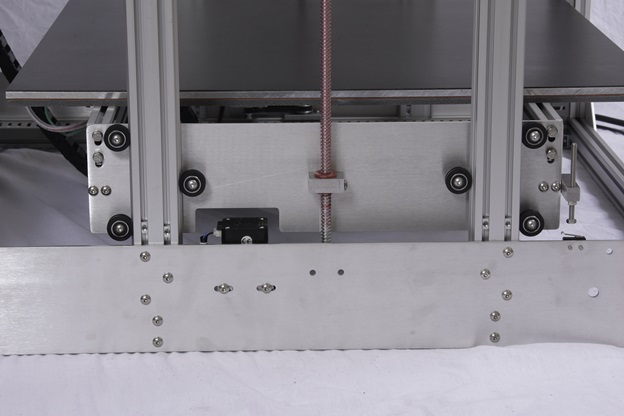
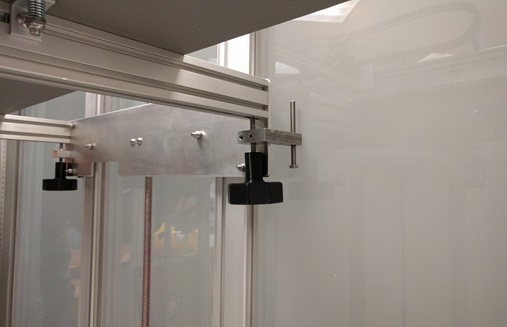
  • Cast aluminum build plate with rigid nine point bed leveling

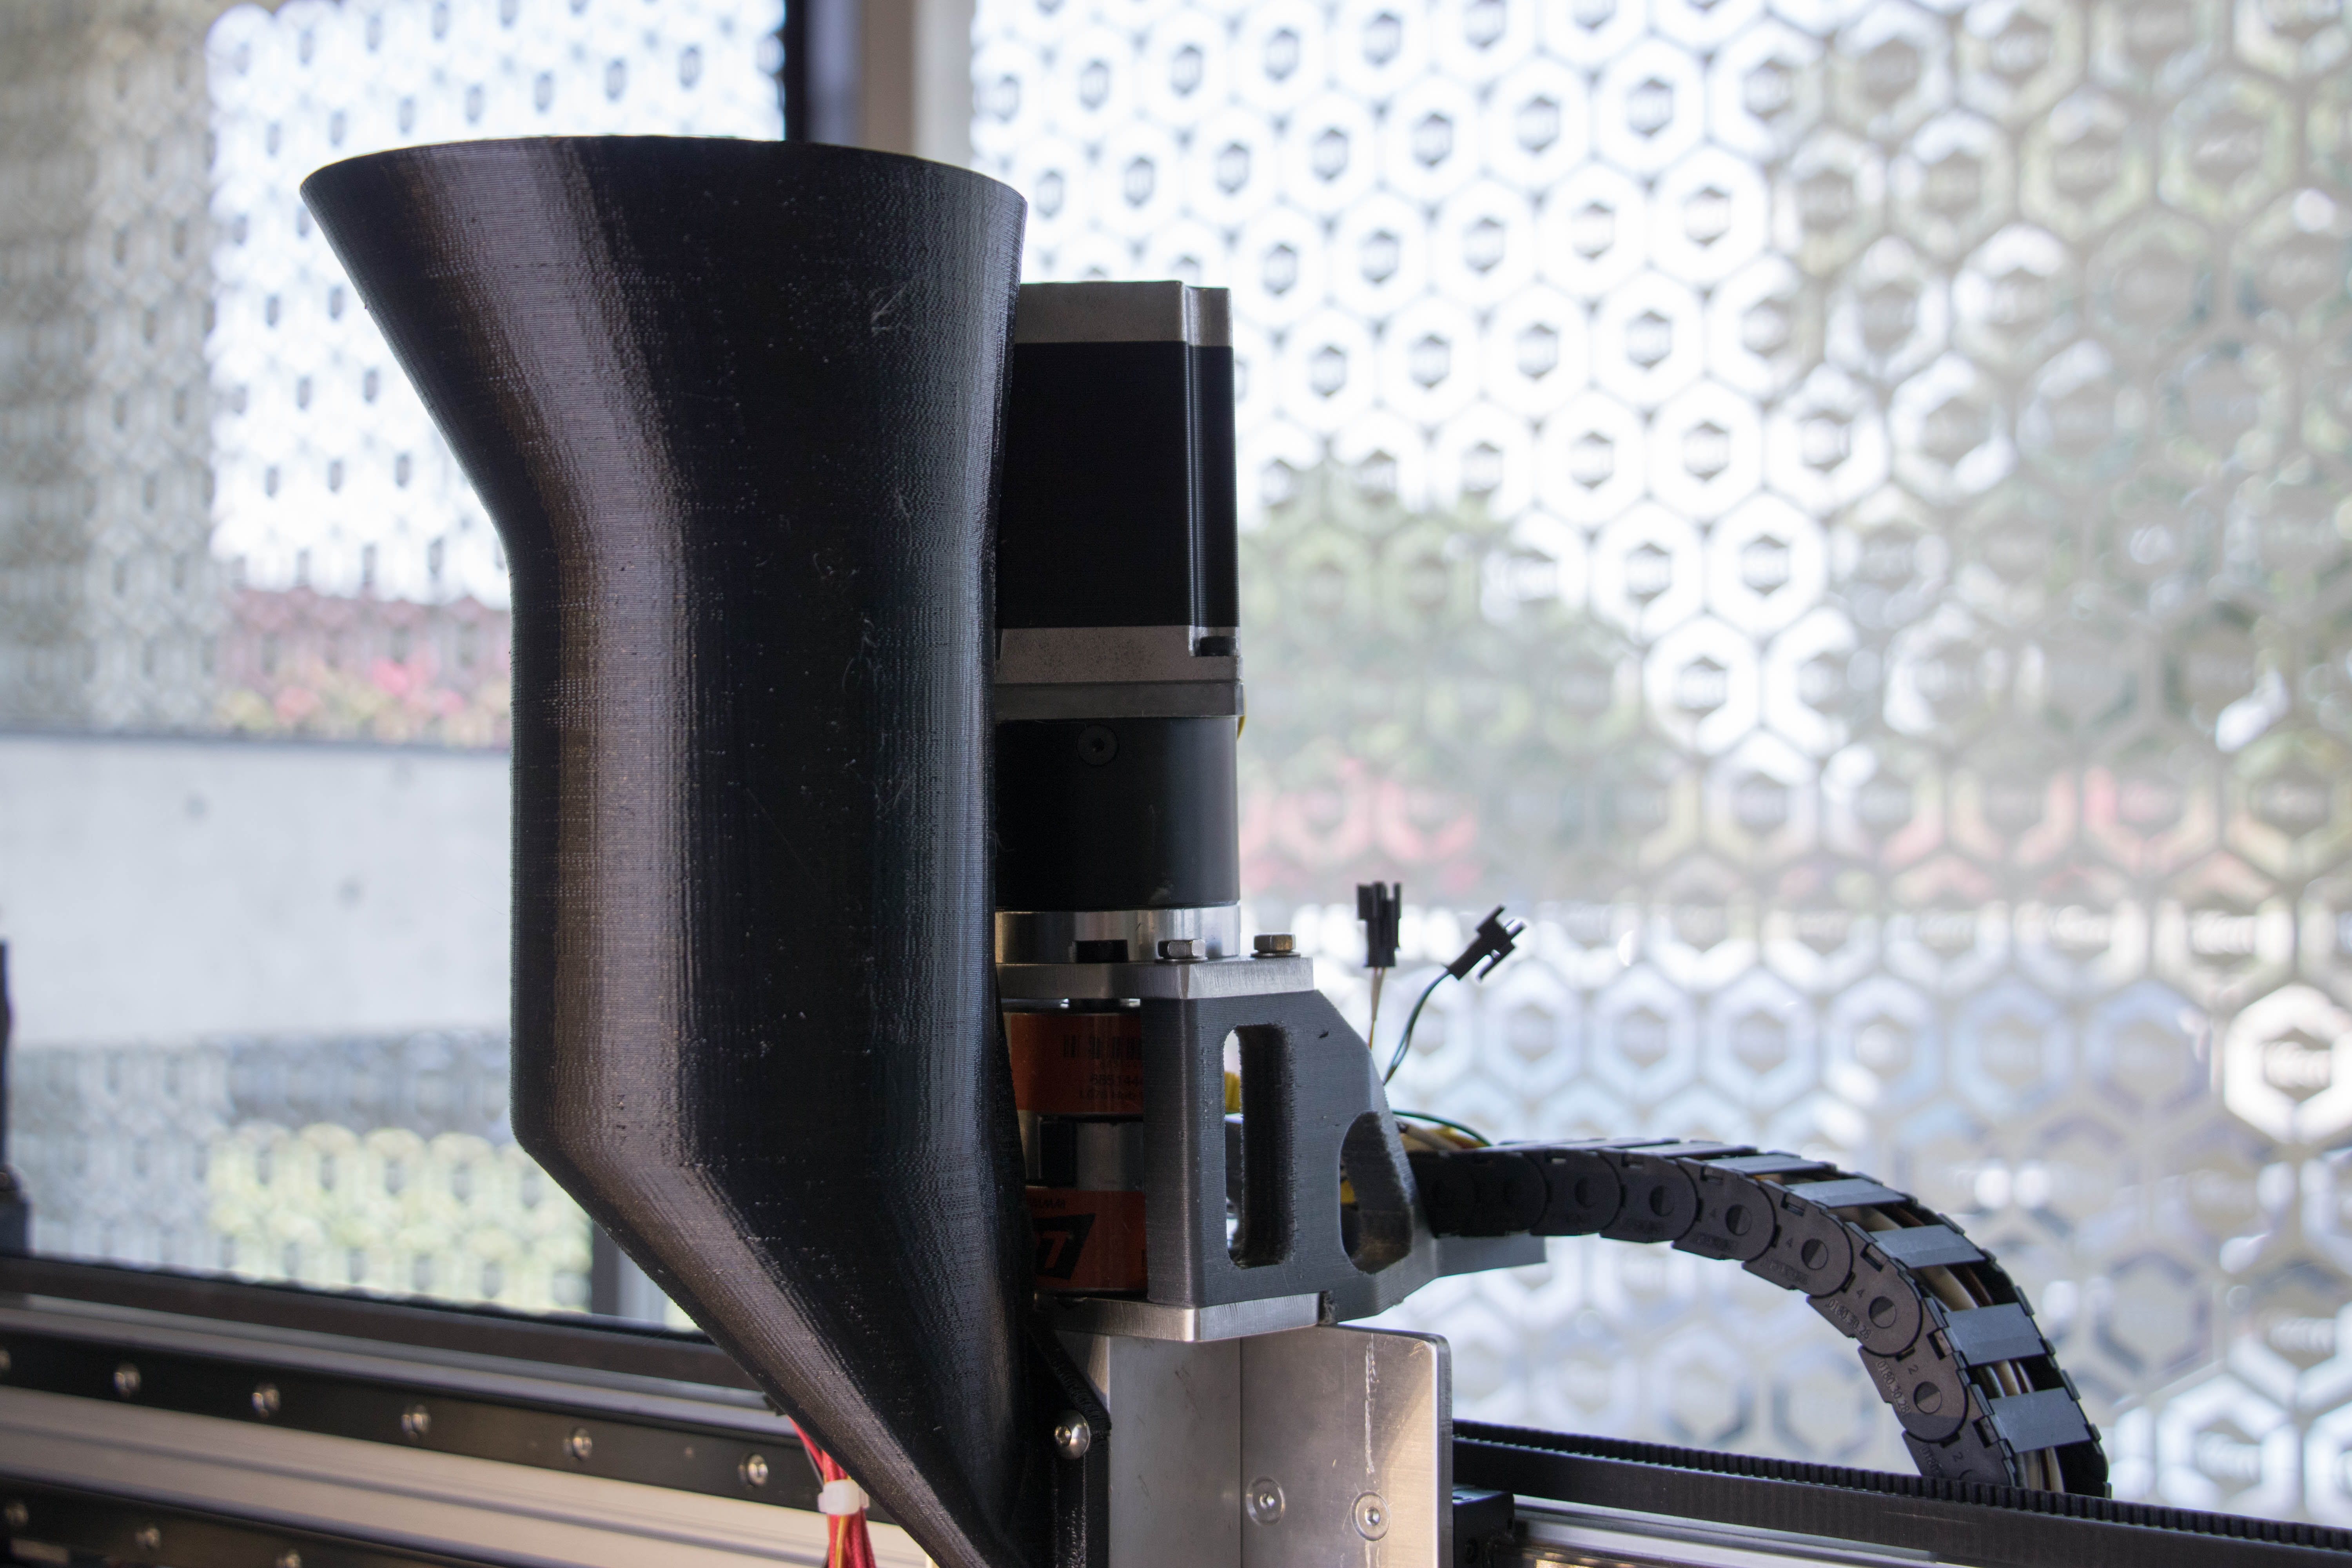
The reasons for these changes are several fold. The linear rails – compared with the v-groove wheels of the standard Gigabot – provide high rigidity, accurate and smooth motion on this extra large machine, coupled with a minimal need for maintenance. We sized up the NEMA 17 motors of the Gigabot 3+ to NEMA 23 on Terabot, to take advantage of their higher current and added power for the size of this build platform. They are also a closed loop system, meaning that the printer always knows the position of the print head. Lastly, the thick ½” blanchard ground cast aluminum build plate features a nine point bed leveling system for more precise leveling control on the increased surface area.

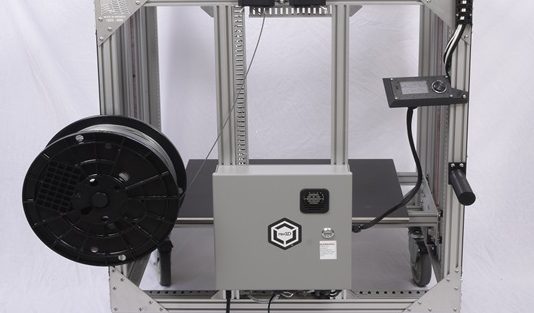
There are other slight changes to the machine to add to its performance, including new leveling casters and a beefier, 20-inch, 14 gauge solid steel electrical box which houses a higher 500 watt power supply as well as new closed-loop drivers for the motors. Situated above the electrical box on the rear of the machine are the main power disconnect, and the same Viki control panel as is used on Gigabot. There are also all the same features you may recognize from Gigabot, like dual extrusion and ditto printing, out-of-filament detection, and a heated bed. As with Gigabot, the aluminum frame of the machine is machined in-house to tolerances of less than .005 inches, and the ½ inch-thick aluminum bed plate is precision blanchard ground to within .003-.005 inches. All the moving cables of the machine are routed through the same cable carriers seen on Gigabot and are rated for over one million cycles of flexing. 

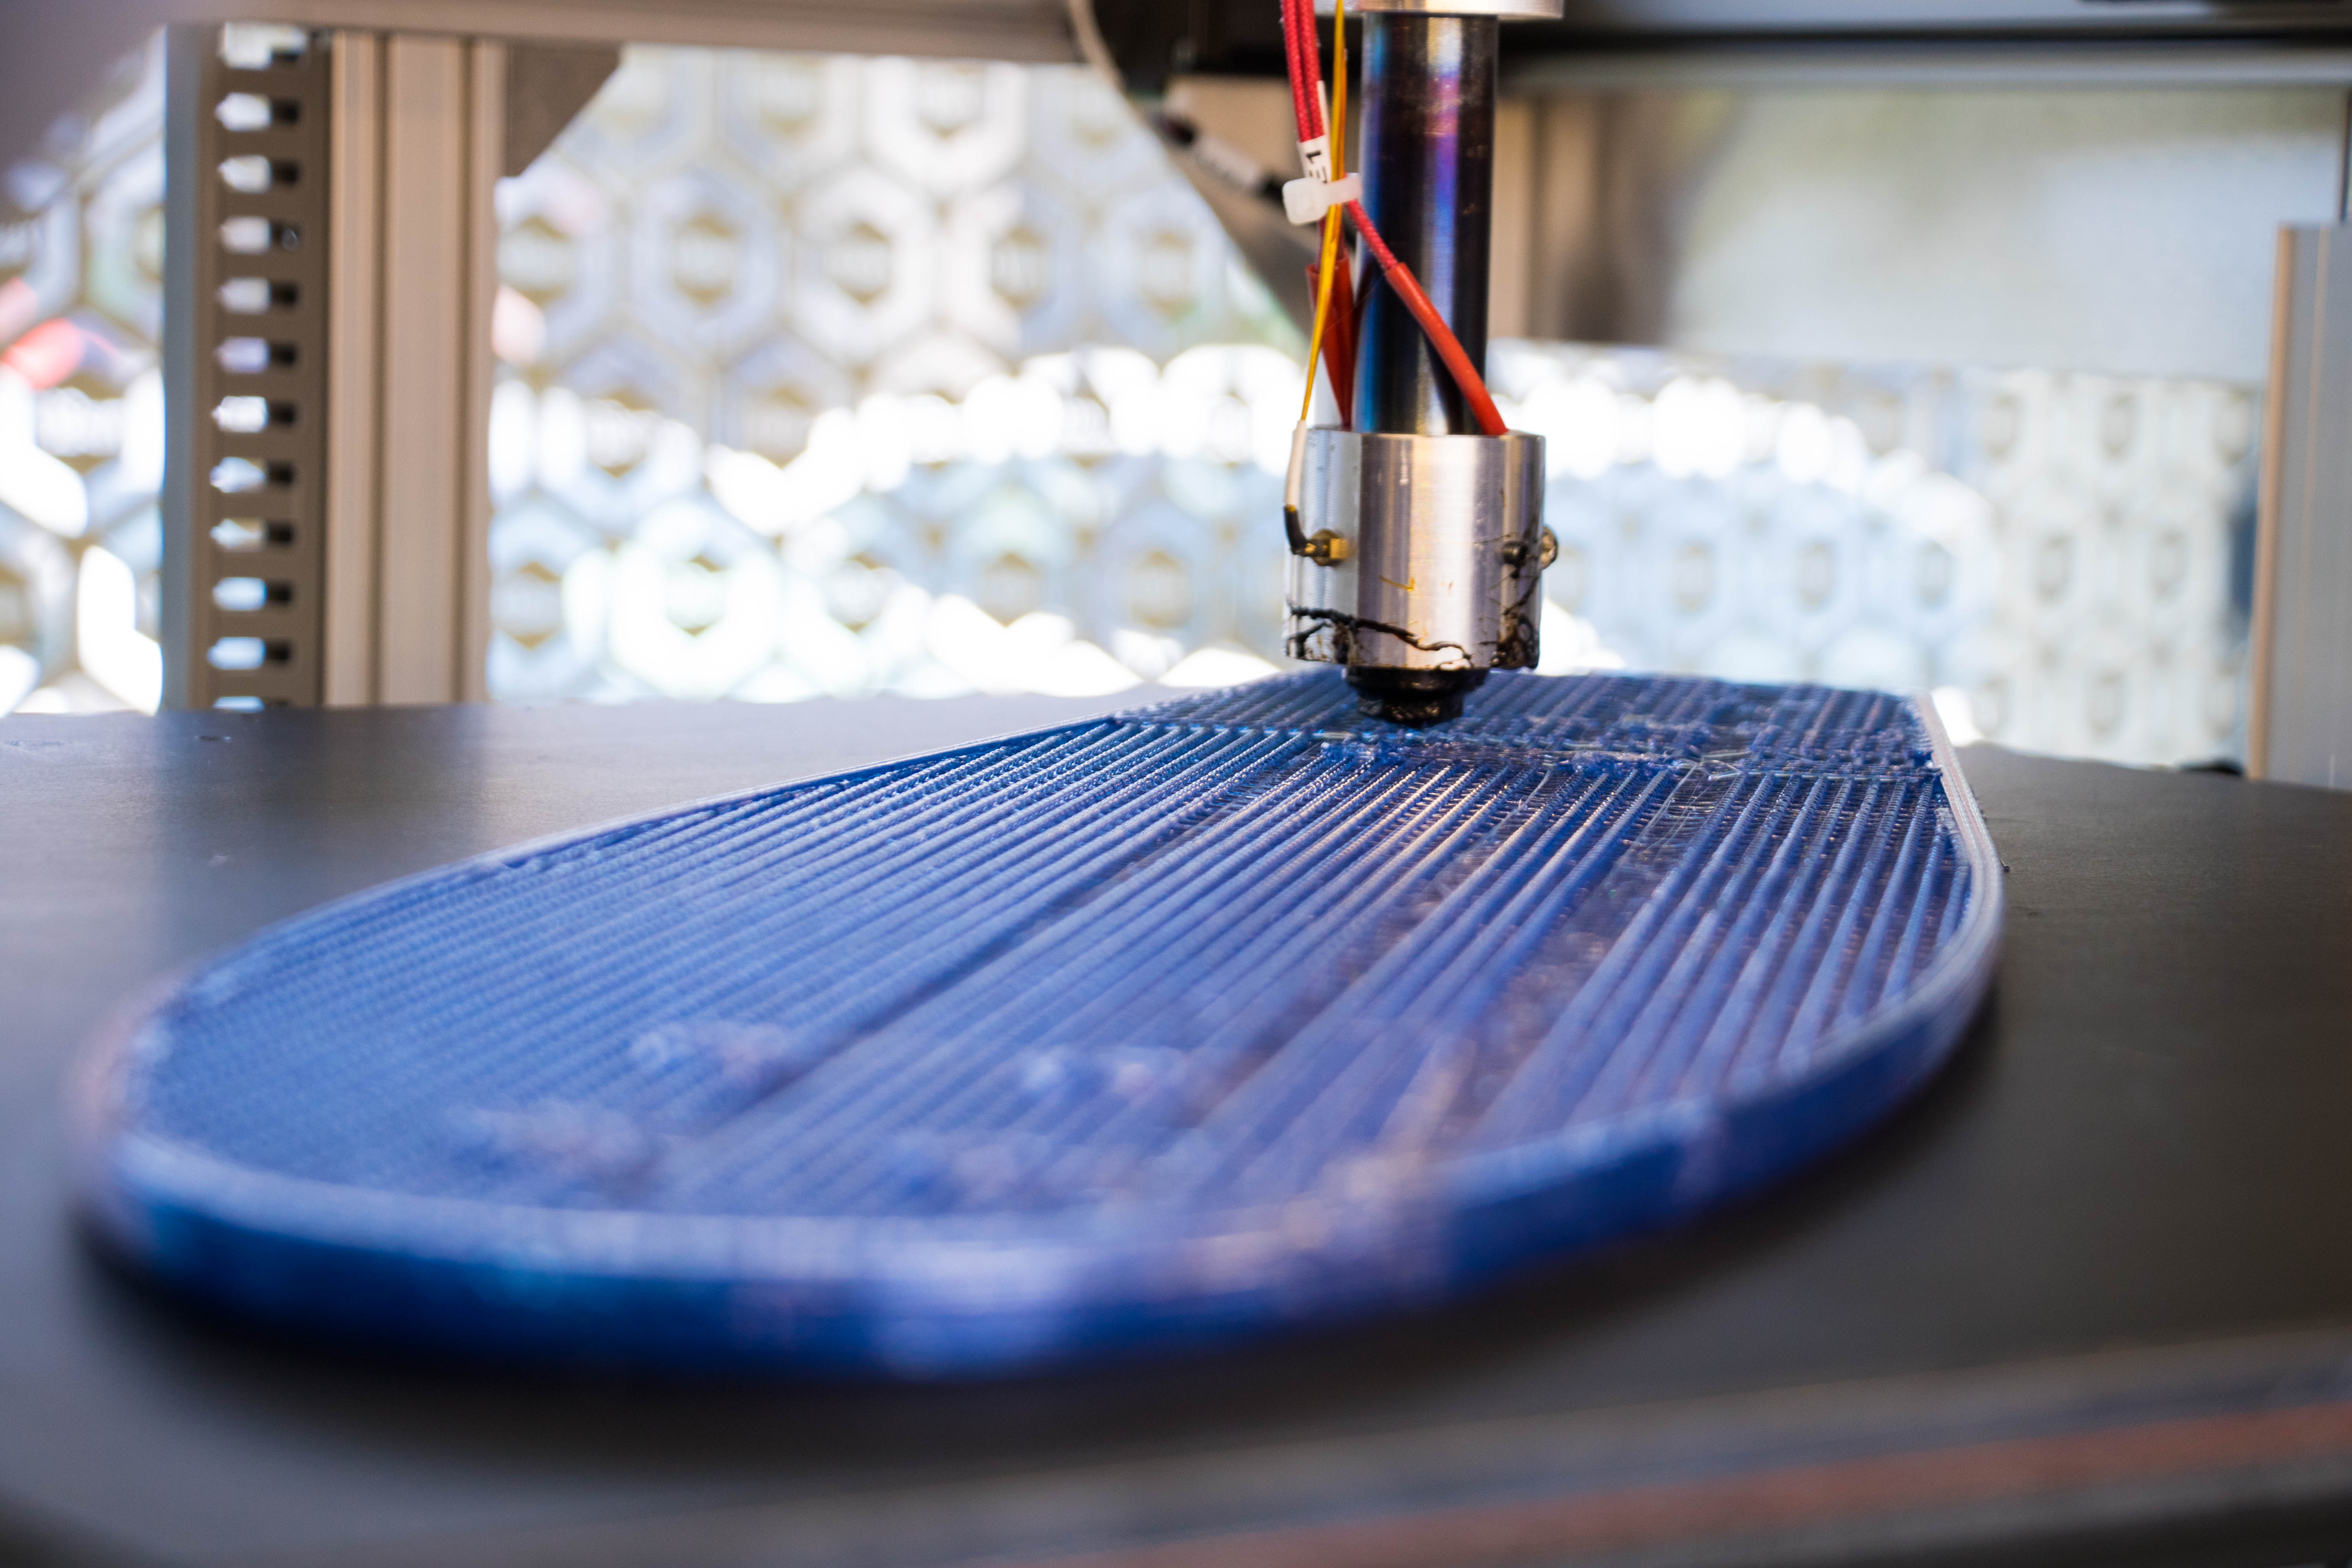
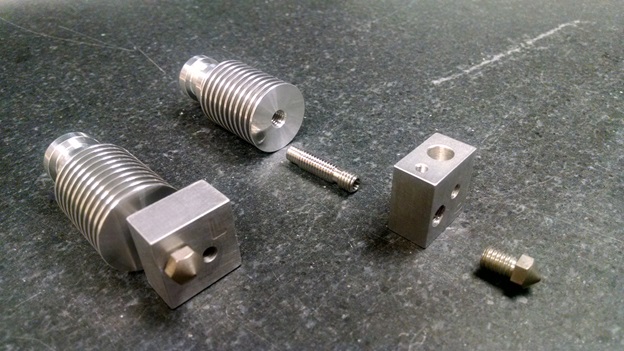
Every Terabot comes standard with a passively heated build chamber – equipped with removable, polycarbonate panels with magnetic closures and large access doors in the front – which can reach an internal temperature of 60ºC to enable the printing of high-temperature thermoplastics. The machine prints with the same 2.85mm filament as Gigabot, with an extrusion temperature up to 320ºC. Terabot is equipped with a high flow Mondo hot end with a 0.4mm nozzle, but also has the ability to print with 0.25mm and 0.8mm, all at a full speed of 60mm/s.

At $34,400, Terabot is an industrial machine that sits comfortably below the average industrial 3D printer price point. From our inception, we have strived for an intersection of cost and scale that opens the door to industries that have a need for the technology but maybe not the budget. Terabot enables huge printing at a cost that is affordable enough to add several machines to the factory floor. The Terabot community includes customers in manufacturing, art, aerospace, and design who have multiple Terabots in their production workflow, and we work to keep our prices at a level that enables just this.

We built this machine for the people like you whose eyes have been opened to the power of large-scale 3D printing and are ready for more. As we have done since 2013, we will continue to push the envelope so that you can continue to dream big and print huge.

You can purchase your Terabot on the re:3D store here, or email our sales team at sales@re3d.org to get more information.

Morgan Hamel

Blog Post Author

Skating on Water Bottles

This post is a follow-up to this one on the Gigabot X pellet printer. If you haven’t checked it out or watched the video, start there!

We know you’ve been dying to know what on Earth our Gigabot X pellet printer prototype was printing in the last update video, so we’re here to deliver!

Without further ado, the reveal.

The slick design was dreamt and drawn up by one of the students working on Gigabot X material validation at Michigan Tech University. Our team was really excited about the idea of printing the board using one of our favorite new materials we’ve been testing: recycled PET.

Giving water bottles a second lease on life as a fun, functional object? As Robert put it, “You know, we had to do it.”

We went through a few trials of the board, snapping a couple of the earlier prints due to the design being a little too thin or not printing it with enough infill. We thickened up the design and increased the infill percentage to make the board a little sturdier, leaving us with a roughly six and a half hour, five pound print.

After popping on some trucks and wheels, re:3D Engineer & Resident Skater Jeric Bautista took the board for a spin behind the Houston office.

Jeric gave the board his stamp of approval. “The skateboard was really fun to use,” he said. “It was smooth to ride and the PET made it nice and springy, which is similar to normal skateboards. Seeing firsthand the functionality of recycled plastic was definitely very cool.”
 
Keeping plastic bottles out of landfills by giving them a new life as functional objects? That’s something we can roll with.

Morgan Hamel

Blog Post Author

Gigabot X Update

Hot off the 3D printing press, it's a Gigabot X update!

It’s been about four months since we closed out a successful Kickstarter campaign for our pellet printer, Gigabot X, on April 23rd. Since we last touched base with you, our engineers have been hard at work making improvements to the design for our Kickstarter backer beta testers.
 
The main focus of the redesign has been the extruder, which has been completely overhauled over the last several months. There’s a new metal extruder body, improved wiring of heaters and the external motor driver, and a redesigned screw for more consistent extrusion.
Some previously 3D printed components within the extruder body were switched to metal for the purpose of durability. Originally printed for ease of testing modifications, our engineers found that some components weren’t lasting as long as they’d like to see due to the tremendous forces being generated within the hopper as the screw extrudes pellets. Now that the design of certain pieces is more final, we started machining certain components in metal to better deal with wear and tear.
 
The modular, 3D printed hopper has also seen significant changes. With the previous design, our R&D team found that the amount of pellets being pushed through by the screw was much higher than they expected – and wanted. They increased the size of the hopper to slow down the rate, which also provides the dual benefit of not having to replenish the pellets as often.

The first Gigabot X prototype took a trip up to Michigan and is currently residing at Michigan Tech University, where a group of students are performing material testing research as a collaboration supported by our NSF SBIR Phase I. Some of the materials they’ve been validating include PLA, PET, polypropylene, and ABS, in both recycled and virgin forms. One of our favorites we’ve been printing with is recycled PET, better known as the common disposable water bottle.

Michigan Tech has also done us the incredible service of creating improved Slic3r profiles for these materials. The profiles are working fantastically on the new Gigabot X in the Houston office, and we’re seeing improved quality of prints thanks to them. Backers will benefit from these profiles, which have improved the overall printing experience greatly.
 
Another thing our team is particularly excited about is that the MTU students were also able to 3D print with multiple sized pellets and have also been experimenting with printing directly with ground-up plastics with success. These results were then submitted to a peer-reviewed journal, and we would love to invite the community to check out the research in Materials. You can also share questions and comments with us on the Gigabot X forum by creating an account and logging in.
 
Testing of Gigabot X is still ongoing and small tweaks continue to be made, but things are moving along well. Over the next three to four months our team will be rounding out testing, cleaning up and finalizing the design and documentation of the machine, and getting the first bots ready for backers. Our team is really excited for the moment that we get to put this technology into the hands of our early adopters.
 
As re:3D R&D Intern Robert Oakley put it, “I’m really looking forward to seeing what people make with it… It’s really cool to see when people start figuring out how to use our printers to make cool objects that we haven’t thought of before.”
Stay tuned for an upcoming post about what Gigabot X was printing in the video above!

Morgan Hamel

Blog Post Author

GB3+ Introductions

Fall is in the air and re:3D is very excited to introduce you to the latest updates for Gigabot. Over the past year we have been working hard to provide you with enhancements for Gigabot to print at a higher resolution, faster, and with better quality. Additionally, we have improved the user interface, made it easier to change filament and level the print bed. Here are the upgrades you have been waiting for!

  • New bed side plates with two more guide wheels. Now with six wheels on each bed side plate the additional stability gives higher quality print throughout the Z axis travel.
extruder
  • re:Designed cold end extruder with thumb tab for easily filament loading and unloading. New extruder design is more simplified with reduced number of parts, as well as more open and accessible.
  • re:3D all metal hot end designed for reliability and quality
    • Electroless nickel plating on the hot end nozzle and thermal tube offer higher lubricity and higher hardness over standard hot ends, giving smoother flow of plastic with less wear and maintenance.
    • Screw-in thermocouple temperature sensors offer industrial reliability.
    • Interchangeable nozzle for printing with 0.4mm or 0.8mm extrusion diameter.
    • Heater cartridge is almost completely captured inside the heater block for better thermal efficiency in the hot end.
  • New filament tubes are lighter weight and more flexible while reducing the load on the print head.
  • New Viki enclosure allows more room for wires and connectors and presents itself ergonomically for the operator.
  • Filament Detection units have been revised for easier filament feeding/more reliable detection.
  • Easier to use filament spool holders on the back side of Gigabot are modular and now accommodate multiple 15lb spools for printing huge!
  • The new GB3+ is dressed up and looking sharp with a new Gigabot nameplate, engraved corner logo plate, and XL/XLT badge corner plate. The serial number plate also proudly displays the flag and Made in America tag.
  • LED lights on every Gigabot shine bright and will show off your latest print.
  • Updated bed leveling allows simple and easy adjustments for bed leveling with the new four point bed leveling.

Wow, I know that is quite a bit of upgrade for the new 3+ and I am super excited for all of you to see the REAL benefits! To make sure that none of our customers are being left out we are offering all the upgrades as a bolt-on package starting next month. Happy Printing!

Matthew Fiedler

Blog Post Author

Stepper Motors vs Servo Motors

One question we sometimes get relates to our choice to use stepper motors over servos. We’d like to explain our rationale behind that, as well as why we personally prefer stepper motors to their servo counterpart.

I think the biggest advantage for servo systems is its ability to produce higher levels of torque at high RPM whereas stepper motors produce the most torque at low RPM. You might want to look into something similar to propshaft services for more information on what might be able to help. More torque at higher RPM means having a higher degree of certainty of achieving the desired position in high speed movements, i.e. accuracy and repeatability. If you have any more questions about servo motors or just need a repair check out the Servo Motor Repair Experts. In order to achieve potential benefits of closed loop control you must be willing to make some trade-offs:

  1. Increased cost
  2. More parts and more complicated system (ie more parts that can break)
  3. Decreased low end torque and power

Stepper motors on the other hand give time-proven reliability at a lower cost and provide a more robust system with fewer moving and electromechanical parts that can break. Some will point to servo closed loop control as being superior to steppers because it can correct positional errors should they happen. This may be helpful in traditional manufacturing technologies, but I challenge that a great majority of print failures and positional inaccuracies are caused by the 3D printer operators’ (in)ability to anticipate and control the thermodynamics occurring during the additive manufacturing process.

All plastic shrinks as it cools. Parts that warp and curl can become dislodged from the print surface, cause interference with the print head, and result in a loss of positional accuracy. Here are two reasons it does not help to have closed loop servo control: 1) If the part is warped and dimensionally deformed then the part will be scrapped anyway 2) If the part comes loose from the print surface and effectively causes the print head to loose position relative to your part, then your part will be scrapped. In the majority of causes of print failure, servo control has not saved your part.

If the size of the stepper motor is correctly chosen based upon the loads of the system, and appropriate limits are placed on acceleration and velocity, you will have the same reliability as a closed loop system. I have two large CNC mills driven by stepper motors that will drive a 1/2″ EM through steel at amazing rates machining parts to greater than 0.001″ tolerance. Stepper motors – we went to the moon on this technology!

Matthew Fiedler

Blog Post Author